

Hey! I originally posted this in 2017, and am reviving the post for our new website launch. These DIY envelope templates we made (free for download below) are perfect for giving a new purpose to scrap paper, and it's especially fun when the paper has fun prints on it! I hope you enjoy!

This easy and fun DIY is for the true paper lover! Making your own envelopes is loads of fun – especially when you use fun and interesting paper. I used to collect vintage nature books for collage when I was in art school. For the samples we’ve made here I dug around in my boxes from moving to find some true gems to use. You can use any kind of paper you’d like! From magazines, to old books, to different colored paper you may have around – the list is endless! Let’s get started.
Materials needed:
+ Printable envelope templates I’ve made! (see below)
+ A good pair of Scissors
+ Glue stick
+ Fun paper

Step 1: Download your free printable envelope templates here!
This is a dropbox link to a zip folder which contains three separate PDF files for different size and shaped envelopes (and also a multi-page PDF if you prefer to print them all at once). One is a tiny one, perfect for little notes, gift cards, giving money to someone, keeping postage stamps, coins, tiny treasures. So cute! The other two are both standard A2 size (the size of our greeting cards) one is a fun rounded-flap design I made myself, and the other is modeled off of a vellum envelope I had laying around.

Step 2: Print off the templates on your home computer on 8.5 x 11 standard printer paper. Note: when printing, keep it at scale – do not alter the scale at all if you want the envelopes to be the correct size! Some of the template may not print – mine did fine, but every printer is different! If it cuts off, it’s not the biggest deal – you can connect the lines – it’s pretty intuitive.

Step 3: Cut out your templates along the outside solid black line. The dotted lines are visual guides to show you where to fold! Trace on the back side of the paper (the side you want to be on the inside of the envelope) with pencil. No need to erase really, unless you want to. Then, simply cut along the lines and fold into envelopes! Secure all flaps besides the top one together with glue. Take care not to glue the flaps to the inside!

Wahoo! You made your first one. It’s so cute! It’s so fun! You’re jumping with joy! These little mini ones are my favorite. They happen to be the same size as our mini note sets, and also business cards. I love having them around to put tiny things in because it makes my tiny heart feel a tiny bit more happy.
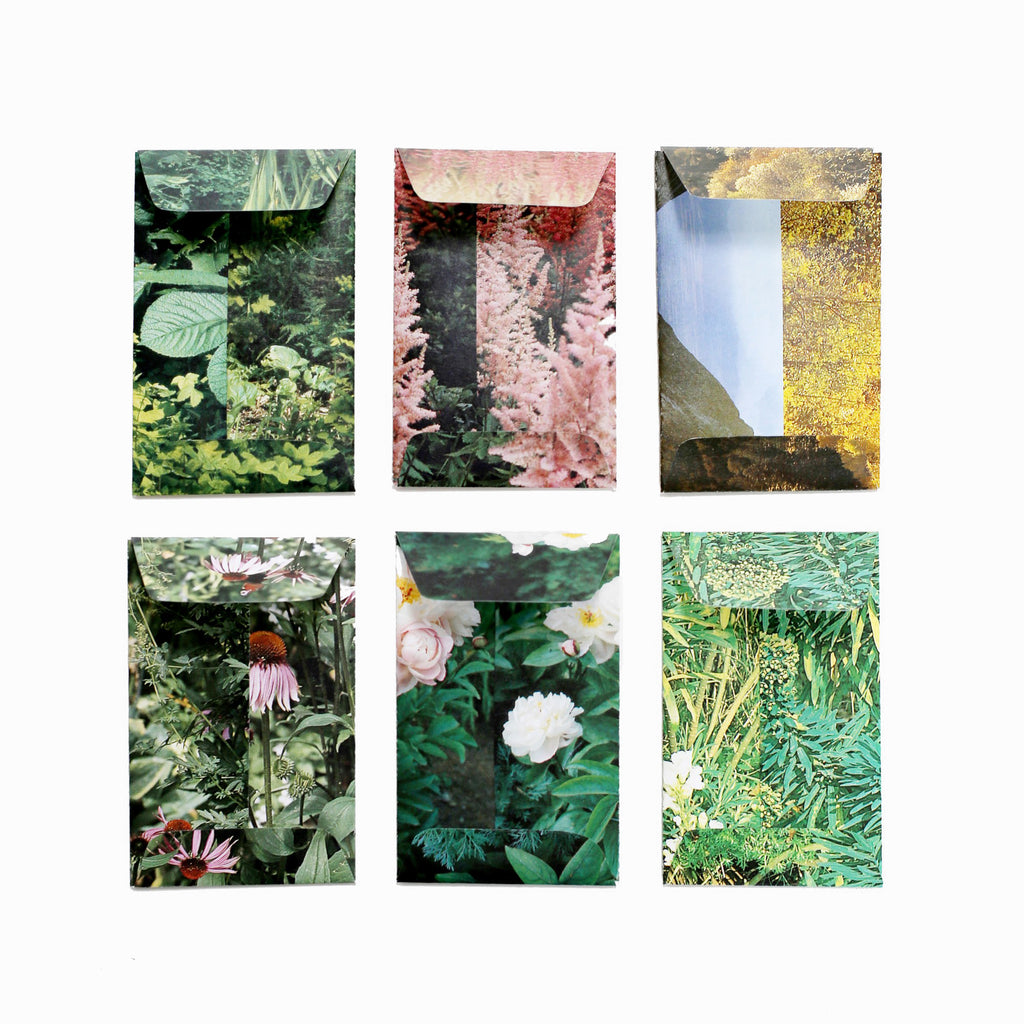
Check out some more examples we made below:

